How to convert MP3 to M4R for an iPhone ringtone
Published October 1, 2026 · 6 min read
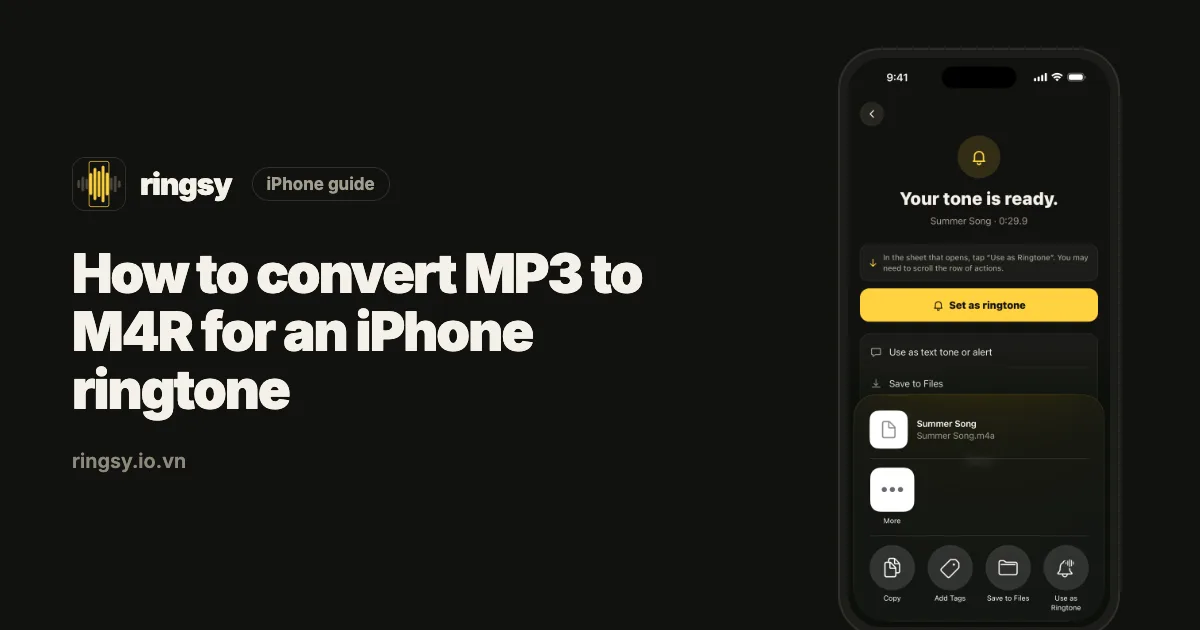
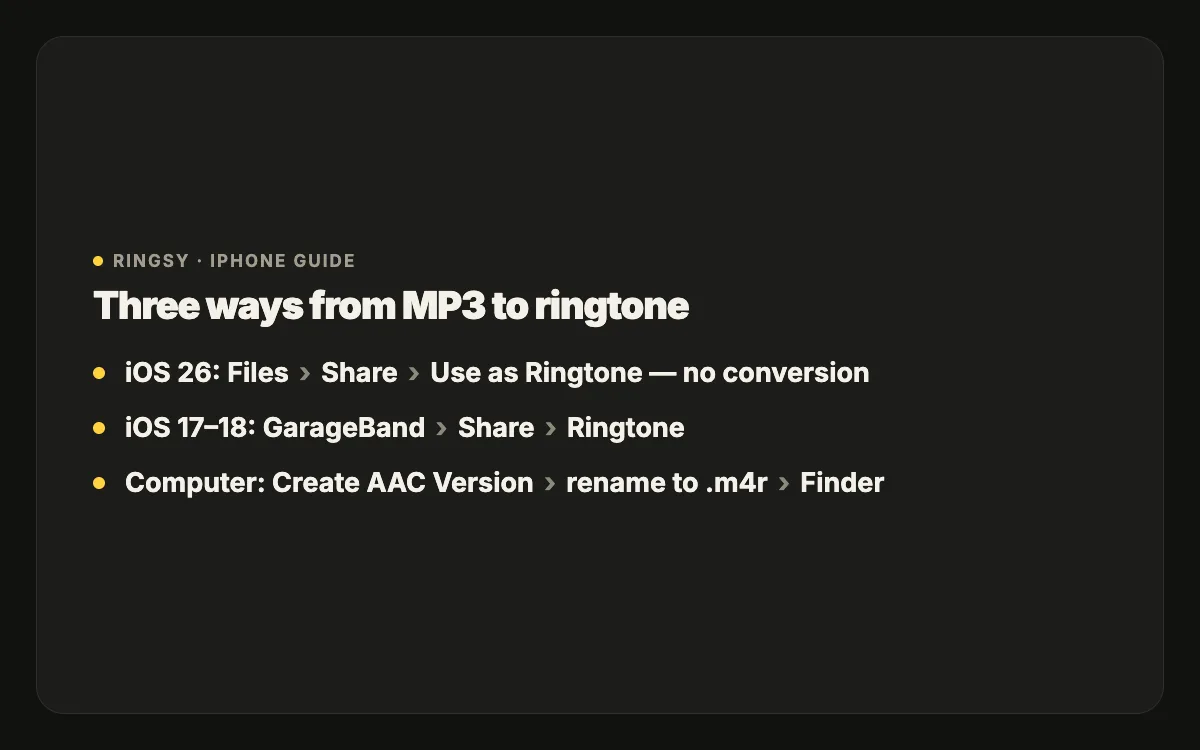
On iOS 26 or later you no longer need an .m4r file: trim the MP3 to under 30 seconds and set it with “Use as Ringtone” from the share sheet. On iOS 17 or 18, GarageBand converts it to a ringtone on the phone. A .m4r file is only needed when you add a ringtone from a computer, and you make one by converting the MP3 to AAC and renaming .m4a to .m4r.
This guide covers all three routes, starting with the one that needs nothing but the iPhone.
What is an M4R file?
M4R is simply an AAC audio file — the same format as .m4a — with a different extension that tells iTunes and Finder it is a ringtone. Renaming is enough; the audio inside does not change. It still has to follow the ringtone rules: shorter than 30 seconds and not copy-protected.
How do you set an MP3 as a ringtone on iOS 26?
- 1Save the MP3 in the Files app (On My iPhone or iCloud Drive).
- 2Make sure it is shorter than 30 seconds. If it is a whole song, trim it first in an editor that opens files from Files.
- 3Touch and hold the file › Share › “Use as Ringtone”.
iOS converts it for you. No .m4r, no computer.
How do you convert MP3 to a ringtone on iOS 17 or 18?
GarageBand, free from Apple, imports the MP3 and exports it as a ringtone.
- 1Open GarageBand, swipe to Audio Recorder and tap Voice.
- 2Tap the Tracks view button, then the Loop Browser, Files tab, “Browse items from the Files app”, and pick the MP3.
- 3Drag it to the start of the track, turn off the metronome and trim the clip under 30 seconds.
- 4Go to My Songs, touch and hold the project, tap Share › Ringtone › Export.
- 5Tap “Use sound as…” › Standard Ringtone.
How do you make an M4R on a Mac?
- 1Trim the MP3 to under 30 seconds in any audio editor. Alternatively, in the Music app, select the song, choose Song › Info › Options and set a start and stop time.
- 2In Music, choose the song, then File › Convert › Create AAC Version. (If the menu offers a different format, set AAC in Music › Settings › Files › Import Settings.)
- 3Right-click the new copy, choose Show in Finder, and rename the extension from .m4a to .m4r. Confirm “Use .m4r”.
- 4Connect the iPhone with a cable, select it in Finder’s sidebar and stay on the General tab.
- 5Drag the .m4r file onto that iPhone window. It syncs to the ringtone list.
If you used start and stop times, clear them afterwards so the full song plays normally in Music.
How do you make an M4R on Windows?
On Windows, ringtones are added with Apple’s Apple Devices app or with iTunes, depending on what is installed. The exact menus vary by version, but the idea is the same:
- 1Convert the trimmed MP3 to AAC (.m4a) — iTunes can do this with File › Convert › Create AAC Version, as can many free audio converters.
- 2In File Explorer, rename .m4a to .m4r. Turn on View › File name extensions if you cannot see the extension.
- 3Connect the iPhone, open Apple Devices or iTunes, select the device and drag the .m4r into its Tones area or onto the device.
Are online MP3 to M4R converters safe to use?
Online converters work, but they upload your file to someone else’s server, and you have to download the result and get it onto the phone anyway. For a downloaded song that may not matter; for a recording of your family it might. If you use one, choose a service whose privacy terms you are comfortable with, and remember that converting does not remove copy protection from streaming songs.
Common mistakes
- The file is named song.m4r.m4a because the real extension was hidden. Show extensions and rename again.
- Renaming an .mp3 directly to .m4r does not work: it has to be AAC inside.
- The tone is longer than 30 seconds, so it never appears.
- The song came from a streaming service and cannot be converted at all.
Where Ringsy helps
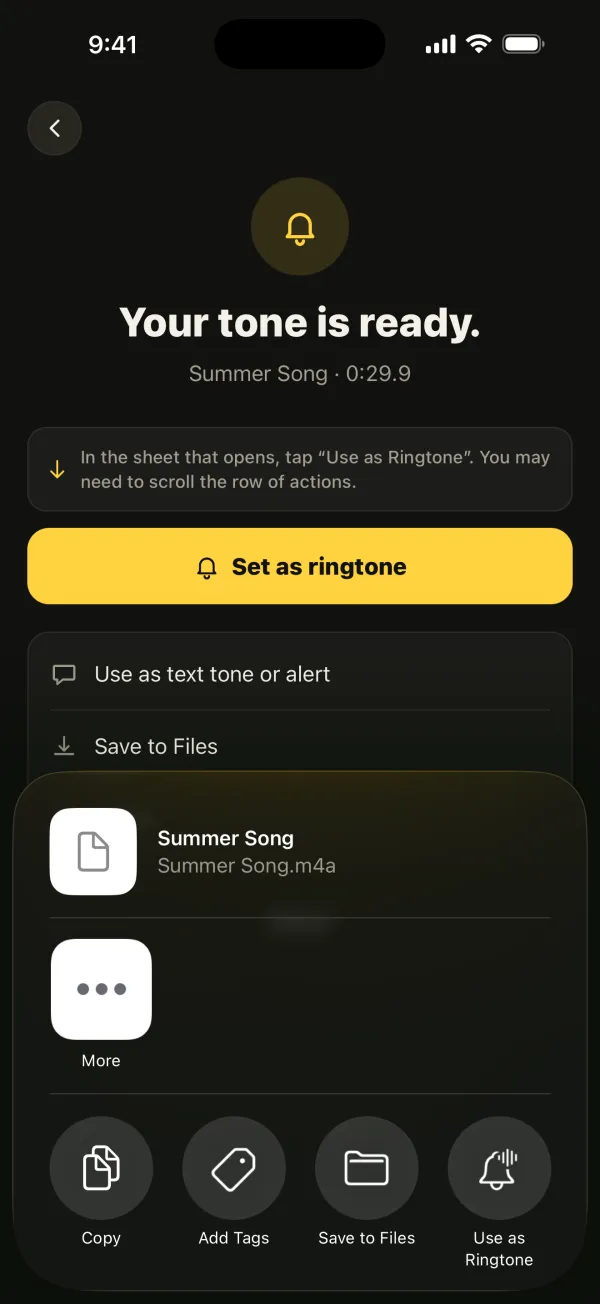
Ringsy, our ringtone maker for iPhone, skips the conversion step. Open the MP3 (or an M4A, WAV or AIFF) from Files, or share it into Ringsy, and pick up to 29.9 seconds on a waveform — Best part can suggest the most recognisable stretch. Add a fade, keep Even out volume on, then tap “Save & set as ringtone”: on iOS 26 it goes straight to “Use as Ringtone”; on iOS 17–18 Ringsy walks you through GarageBand and also gives you an .m4r file for Finder. Nothing is uploaded; the file is processed on your iPhone.