How to make a ringtone on iPhone without a computer
Published October 1, 2026 · 6 min read
For years, a custom iPhone ringtone meant plugging into a computer, renaming a file to .m4r and syncing it through iTunes. You don’t need any of that any more. Depending on your iOS version, there are two ways to do it entirely on the phone — one of them takes about ten seconds.
This guide walks through both, explains the rules every ringtone has to follow, and covers the problems people run into most often.
First, check which iOS you have
Open Settings › General › About and look at iOS Version. The steps differ:
- iOS 26 or later: the share sheet has a built-in “Use as Ringtone” action. No other app is needed.
- iOS 17 or 18: you use Apple’s free GarageBand app to export the sound as a ringtone.
Both routes start from the same place: an audio file saved in the Files app (On My iPhone or iCloud Drive). Common formats such as MP3, M4A, AAC, WAV and AIFF work.
The rules every iPhone ringtone follows
- It must be shorter than 30 seconds. Longer files are either rejected or not offered as a ringtone at all, so trim before you start.
- It can’t be copy-protected. Songs from Apple Music and other streaming apps are protected (DRM) and no app can turn them into a ringtone. Use a file you own: a recording, a downloaded sound, a track you bought as a plain file, or audio you made yourself.
- Start where the sound is recognisable. A ringtone plays from the beginning and usually only for a few seconds before you answer, so the first two seconds matter most.
iOS 26: set a ringtone straight from the share sheet
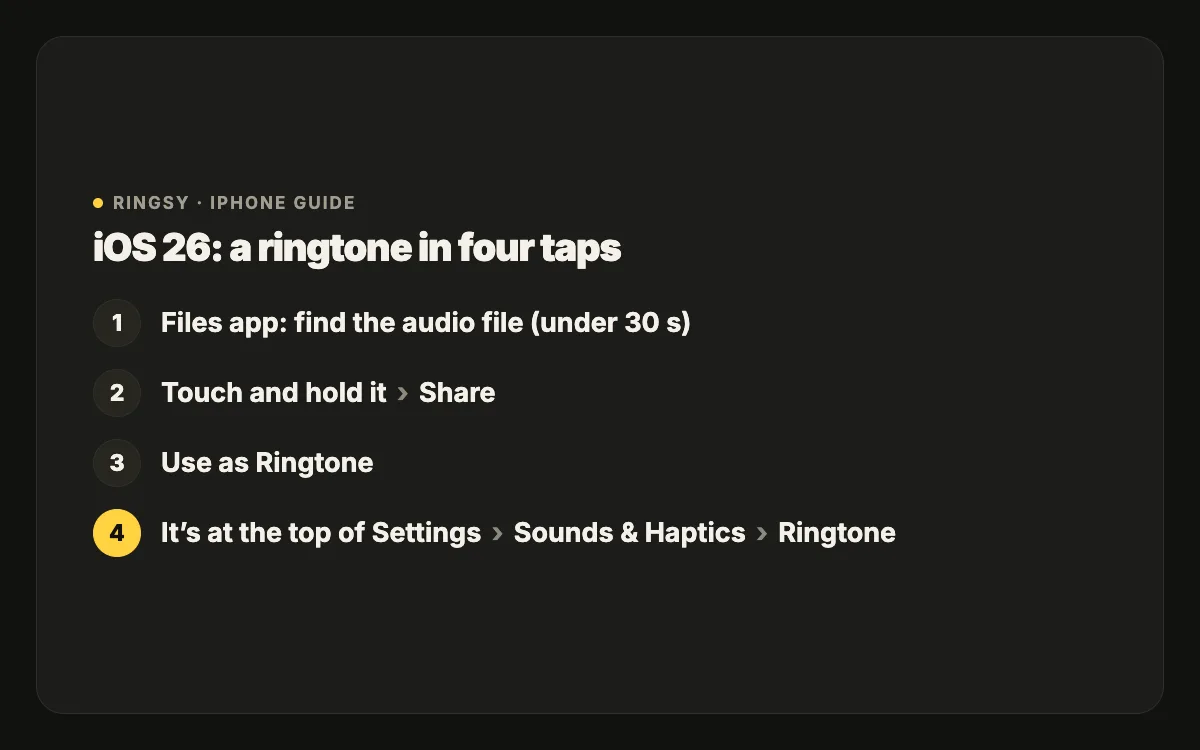
- 1Make sure the file is 30 seconds or shorter. If it isn’t, trim it first — the Voice Memos app can trim a recording, and many editors can trim a file.
- 2Open the Files app and find the audio file.
- 3Touch and hold the file, then tap Share.
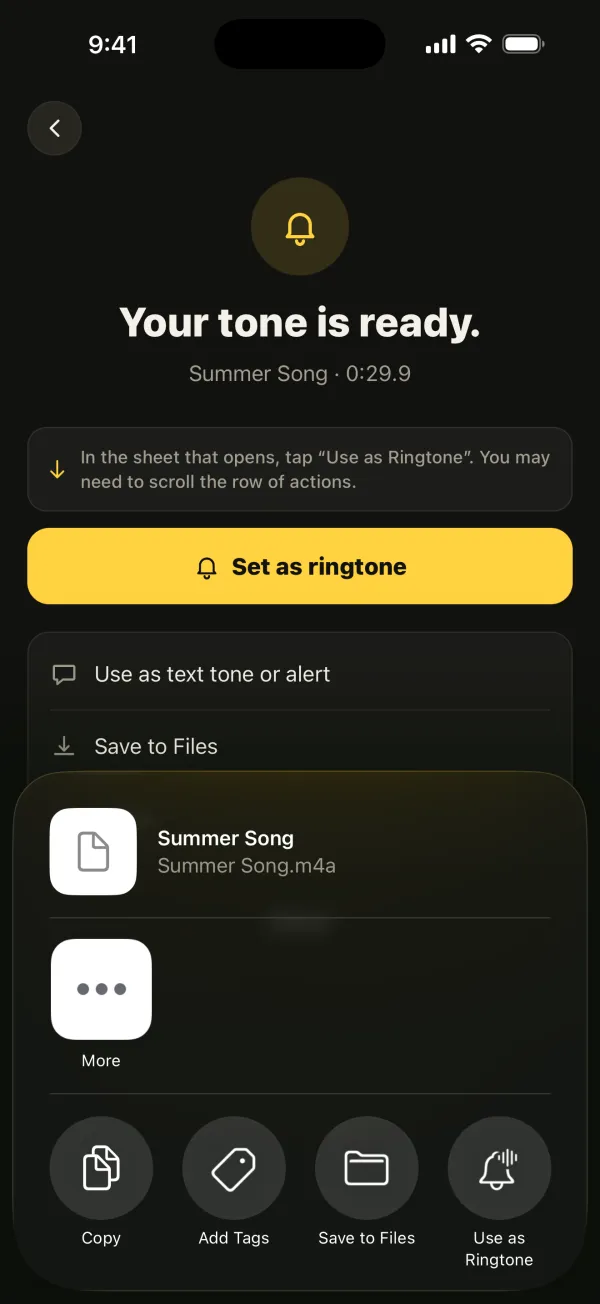
- 4In the row of actions, look for “Use as Ringtone”. You may need to scroll the row sideways, or tap More / Edit Actions to find it.
- 5Tap it. iOS adds the sound to your ringtones and opens the ringtone list with it selected.
If “Use as Ringtone” doesn’t appear, the usual causes are a file over 30 seconds, a protected file, or a format the action doesn’t accept. Converting to M4A or MP3 and trimming usually fixes it.
iOS 17 and 18: use GarageBand
GarageBand is free from Apple on the App Store. The steps look long written down, but after the first time it takes about a minute.
- 1Open GarageBand, swipe to Audio Recorder and tap Voice to create a new project.
- 2Tap the Tracks view button (the icon with stacked lines) in the top bar.
- 3Tap the Loop Browser (the loop icon at the top right), open the Files tab and tap “Browse items from the Files app”. Pick your audio file.
- 4Touch and hold the file in the list, then drag it to the very start of the track.
- 5Turn off the metronome (the triangle icon) so it doesn’t click over your sound.
- 6Drag the edges of the clip to trim it to under 30 seconds. If the sound is cut off at about 8 seconds, tap the + at the top right of the timeline, choose Section A and turn on Automatic.
- 7Tap the down arrow at the top left and choose My Songs. Your project is saved.
- 8Touch and hold the project, tap Share, then Ringtone. Name it and tap Export.
- 9When the export finishes, tap “Use sound as…” and choose Standard Ringtone (or a text tone, or assign it to a contact).
Use it as a text tone or for one person
Once a sound is in your ringtone list, it can be used anywhere iOS offers sounds.
- Text tone: Settings › Sounds & Haptics › Text Tone, then pick it at the top of the list. The same screen has New Mail, Calendar Alerts and Reminder Alerts.
- One contact: open the contact in Contacts, tap Edit, then Ringtone (or Text Tone), and pick it.
- Alarm: in the Clock app, edit an alarm and tap Sound. Your custom tones appear at the top under Ringtones.
Common problems
- The ringtone is too quiet. Phone speakers are small and quiet recordings get lost. Raise the level or normalise the volume before exporting, and avoid tracks with a long soft intro.
- It starts in the wrong place. A ringtone always plays from the start of the file. Trim so the part you want is at second zero.
- It doesn’t show up in the list. Restart the Settings app. On iOS 17–18, check that you exported it as a Ringtone in GarageBand and not as a song.
- You want to remove one. In Settings › Sounds & Haptics › Ringtone, swipe left on a custom tone to delete it.
Where Ringsy helps
Everything above works without any extra app. What takes time is the preparation: finding the right 30 seconds, getting the start exactly on the beat, making a quiet clip loud enough, and remembering the GarageBand steps on an older iPhone.
Ringsy, our ringtone maker for iPhone, does that part in one screen. You pick a file, a video or a recording, drag the handles on a waveform (zooming in for precision), add a fade and even out the volume, then tap to hear the loop before you set it. On iOS 26 it hands the result to “Use as Ringtone”; on iOS 17–18 it walks you through the GarageBand steps and also gives you an .m4r file. Sounds are processed on the iPhone and never uploaded.