Ringsy vs iTunes and Finder: adding a ringtone without a computer
Published October 1, 2026 · 6 min read
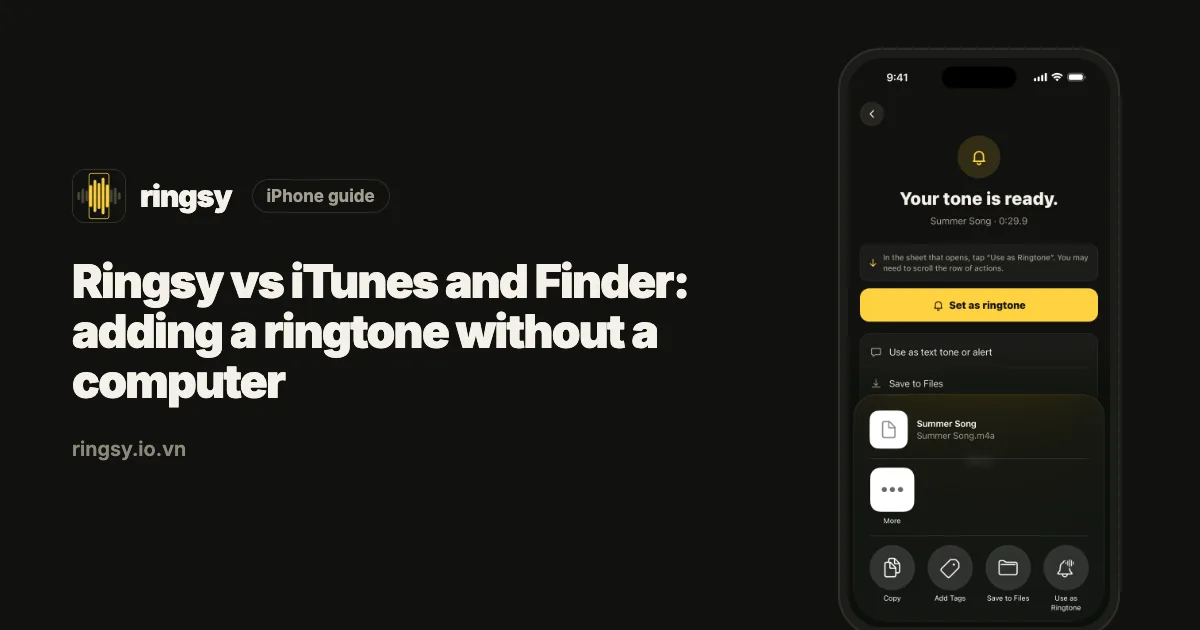
For years the official way to add a custom ringtone was a computer: make an AAC version of a song in iTunes (now the Music app on a Mac), rename it to .m4r, and copy it to the iPhone with Finder or iTunes. It still works. On iOS 26 it is no longer necessary, and on iOS 17–18 GarageBand or an app can do it on the phone.
Here is how the computer route works today and how it compares with doing everything on the iPhone.
How does the computer route work on a Mac?
- 1In the Music app, select the song, open Get Info › Options and set a start and stop time under 30 seconds apart.
- 2Choose File › Convert › Create AAC Version. A short copy appears next to the original.
- 3Drag the copy to the desktop and rename the extension from .m4a to .m4r.
- 4Connect the iPhone with a cable, select it in the Finder sidebar and open the General tab.
- 5Drag the .m4r file onto that window. It appears in Settings › Sounds & Haptics › Ringtone.
Remember to clear the start/stop times on the original song afterwards, or it will keep playing only that part.
And on Windows?
iTunes for Windows does the same job: set start and stop times in Song Info › Options, use Convert › Create AAC Version, rename the copy to .m4r, then connect the iPhone, click the device button and drag the file into the On My Device section. The steps vary slightly between iTunes versions.
How do the two compare?
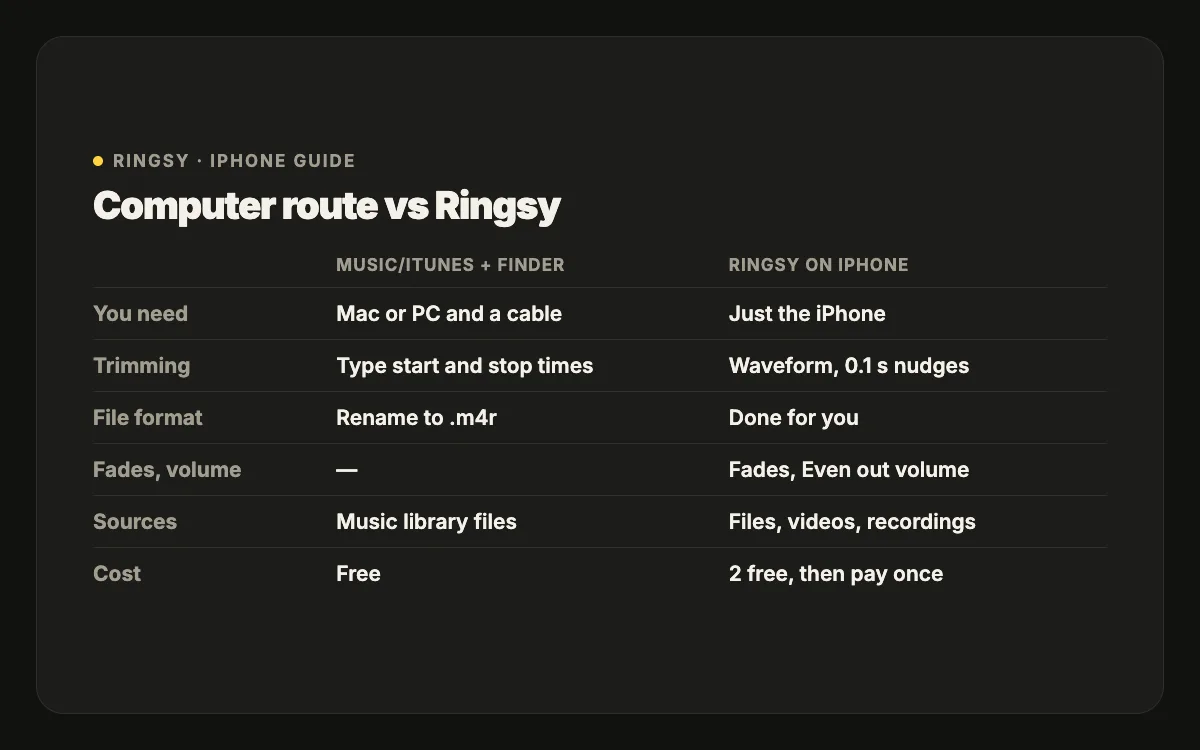
- What you need: the computer route needs a Mac or PC, a cable and the song in your library. Ringsy needs only the iPhone.
- Trimming: iTunes and Music trim by typing start and stop times and listening back. Ringsy trims on a waveform with zoom and 0.1-second nudges.
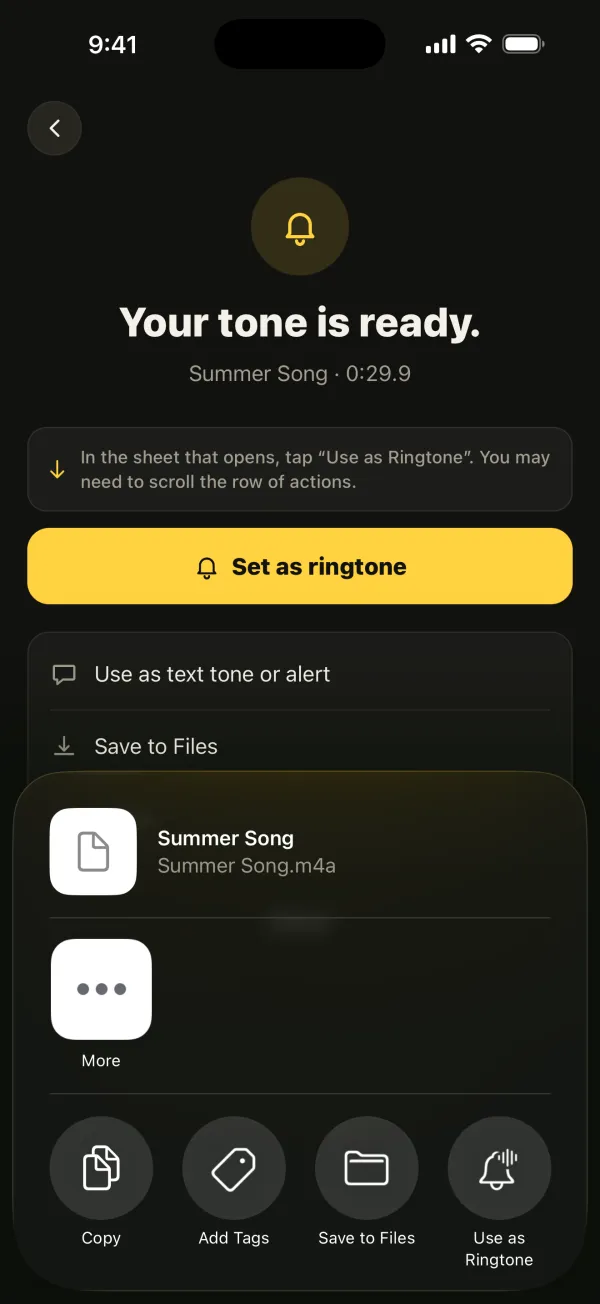
- Format: the computer route requires renaming to .m4r. On iOS 26 “Use as Ringtone” takes M4A and MP3 directly, and Ringsy makes an .m4r for you on iOS 17–18 if you still want to use Finder.
- Volume and fades: not available in the convert step. Ringsy has fades and Even out volume.
- Sources: the computer route uses files in your music library. Ringsy also opens video soundtracks and recordings.
- Cost: the computer route is free. Ringsy has two free ringtones, then a one-time purchase.
Which is quicker in practice?
For one ringtone, the phone wins: finding the cable, opening Music, typing start and stop times, converting, renaming and dragging usually takes several minutes, and the timing is guessed by ear rather than seen on a waveform. For twenty .m4r files you already have on a computer, the computer wins — dragging a batch into Finder at once is faster than adding them one by one on the phone.
When is the computer still worth it?
- You already have a folder of .m4r files on your computer and want to load them all at once.
- You prefer editing audio in a desktop app and only need the iPhone at the end.
- You are setting up an iPhone for someone else and have it plugged in anyway.
Is the .m4r format still needed?
.m4r is just an AAC audio file with a different extension that tells iTunes and Finder “this is a ringtone”. It matters only for the computer route. GarageBand makes the ringtone itself when you share as Ringtone, and on iOS 26 “Use as Ringtone” accepts common formats such as M4A and MP3 directly — as long as the sound is under 30 seconds and not copy-protected.
What goes wrong with the computer route?
- The file is 30 seconds or longer: Finder accepts the drag, but the tone never appears.
- The extension was not really changed (the file is still song.m4r.m4a with hidden extensions).
- The song is copy-protected — Apple Music and other streaming downloads can’t be converted.
- Dragging into the wrong place: on a Mac it has to be the General tab of the iPhone in Finder.
Where Ringsy helps
Ringsy skips the computer: open the song from Files (or share it into Ringsy from another app), trim it on the waveform, add a fade and tap “Save & set as ringtone”. On iOS 26 that goes straight to “Use as Ringtone”; on iOS 17–18 Ringsy walks you through GarageBand and also gives you an .m4r file if you would rather drag it in with Finder. The sound is processed on the iPhone and never uploaded.